!python --versionPython 3.13.5Welcome Back
Before we can do much data science we need to make sure everyone has a stable computer set up for this semester!
We will be using Python and Jupyter Lab as our foundation for programming. You should have these already installed. They are part of The Anaconda software package.
If you need to set up your computer here is a link to the setup I use in Data 101: How to set up your computer!.
Let’s start by checking what versions of the software we have:
# If you need to update:
!conda update -n base conda -y
!conda update --all -y!python --versionPython 3.13.5!conda --versionconda 24.11.3We also need to make sure we have git and jupyterlab-git installed.
First make sure you have a GitHub Account if not Sign Up For GitHub Account!. Log into your GitHub. Then check that you have git installed on your computer.
!git --versiongit version 2.51.0We will probably use jupyterlab-git to clone/push/pull from GitHub. If you see this icon on the left side of your jupyter, then you are good to go!

If you don’t see it you might need to run the following code and restart your Jupyter Lab.
!conda config --add channels conda-forge
!conda install -c conda-forge -y git
!conda install -c conda-forge -y jupyterlab-git

!conda update -y pexpect
1. Create a Directory for your work in this class
Using the Jupyter File Browser, make a folder (directory) that will contain all of your work for this class. Make sure to name it something good so that it is easily findable!
2. Clone the Repo for our Class
In a terminal window:
git clone https://github.com/Redlands-DATA201/FALL25In jupyter-git:
click on the jupyter-git icon
select clone repo
enter the address
Just clone it directly, no need to fork first.
You should see a directory created called FALL25. Instide this folder is are a few files and a folder named notebooks*.
This semester we are going to learn a bit more about Git! We are going to work on our daily course materials collaboratives in individual branches.
3. Create a personal Repo for your work.
Make sure you are at your GitHub home screen by clicking on the cat in the upper left corner.
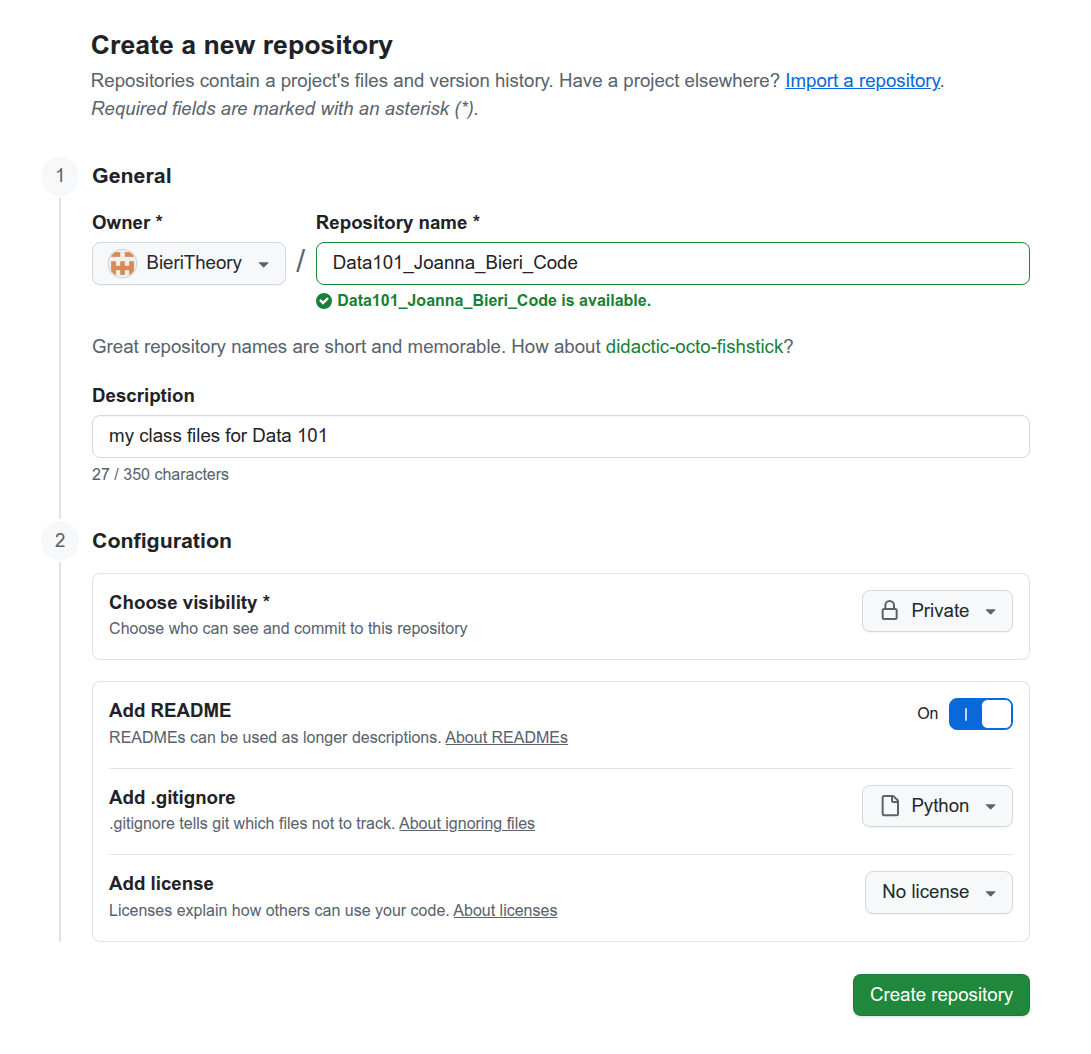
Now create your own repo by clicking on the “New” button on the top left side of the screen
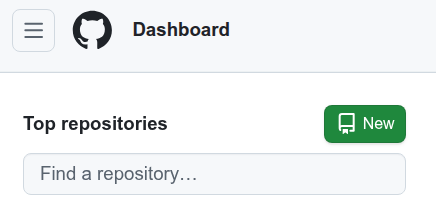
This will send you to a page that you can fill out to create your repo. You should enter a file name that is easy to search for and different from FALL25. You can choose to make your repo public or private. I usually add a README file and choose a Python .gitignore. The image below says Data101 - just change the name to whatever you want.
Next you can Clone this repo to your JupyterLab - just like we did above with the class Repo.
4. Switch to your Working Directory and Add a README.md to your working directory.
Click on the New Launcher and choose either Markdown File or Text File. This will open a screen where you can type things in. Type somethiing in to this file “This is my working directory!” and then save the file.
5. Commit your change and push it to Git
In a terminal window:
git status
git add <type in your file name>
git commit -m '<type in your commit message>'
git branch
git push
In jupyter-git
triple check that you are in your repo - you will not be able to write to our class repo
add the untracked file using the + sign
make sure the new file has been staged
write a commit message and save it
push on the up arrow cloud to push.Each day that you are ready to work on your class materials you will do the following things:
This class assumes that you have had a course in Introductory Data Science and Introductory Programming (Python is really helpful). This means that you are familiar with things like:
import numpy as np
import pandas as pd

import matplotlib.pyplot as plt
import plotly.express as px
from plotly.subplots import make_subplots
import plotly.io as pio
pio.renderers.defaule = 'colab'
Reading data into a computer
DF = pd.read_csv()Interacting with data in a data frame
  DF.columns
  DF.shape
  DF.dtypes
  DF.describe()
Masking data frames to focuse on important columns
  focal_column = "names"
  mask = DF[focal_column]=='Joanna_Bieri'
  DF_joanna = DF[mask].copy()
Finding value counts
DF[focal_column].value_counts()Grouping and sorting data.
  colummns = ['names','money']
  DF[colummns].groupby('names').sum().sort_values('money',ascending=False)
Using operations or Applying Lambdas
  DF['money'].mean()
  DF['money'].sum()
  DF['first_names'] = DF['names'].apply(lambda x: str(x).split('_')[0])
Boolean statemets and FOR loops
  for n in DF['first_names']:
      if n == 'Joanna':
          print(f'{n} is the best!')
      else:
          print('Still waiting for Joanna!')
Writing functions
   def add_two_numbers(a,b):
      print(f'adding {a} and {b}')
      return a+b
I have lots of videos and assignments that can help you to review this material!
Data 101 - Archive Website 2024